User creation
Info
This guide is intended for Realm Owners who are responsible for managing user access within Projects. It provides instructions on how to create Keycloak users and assign them the appropriate roles.
Accessing Keycloak
During the onboarding process OSC creates one or more users specified by the customer — the Realm owners. These users will be granted with rights to create and manage additional customer users and groups via Keycloak Security Admin Console.
For more details, please refer to the documentation.
Create user in Keycloak
First, you will need to create a user account in Keycloak.
-
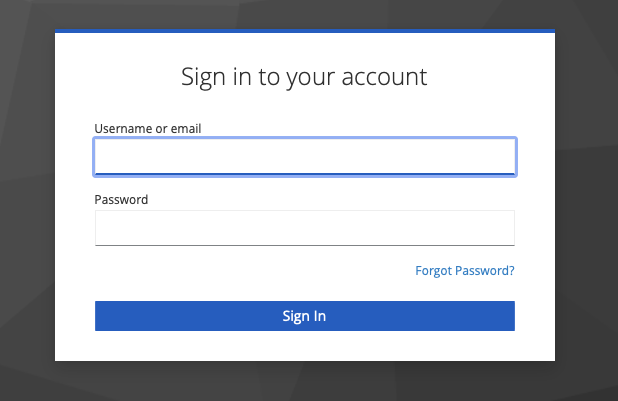
Login to Keycloak
 å
å -
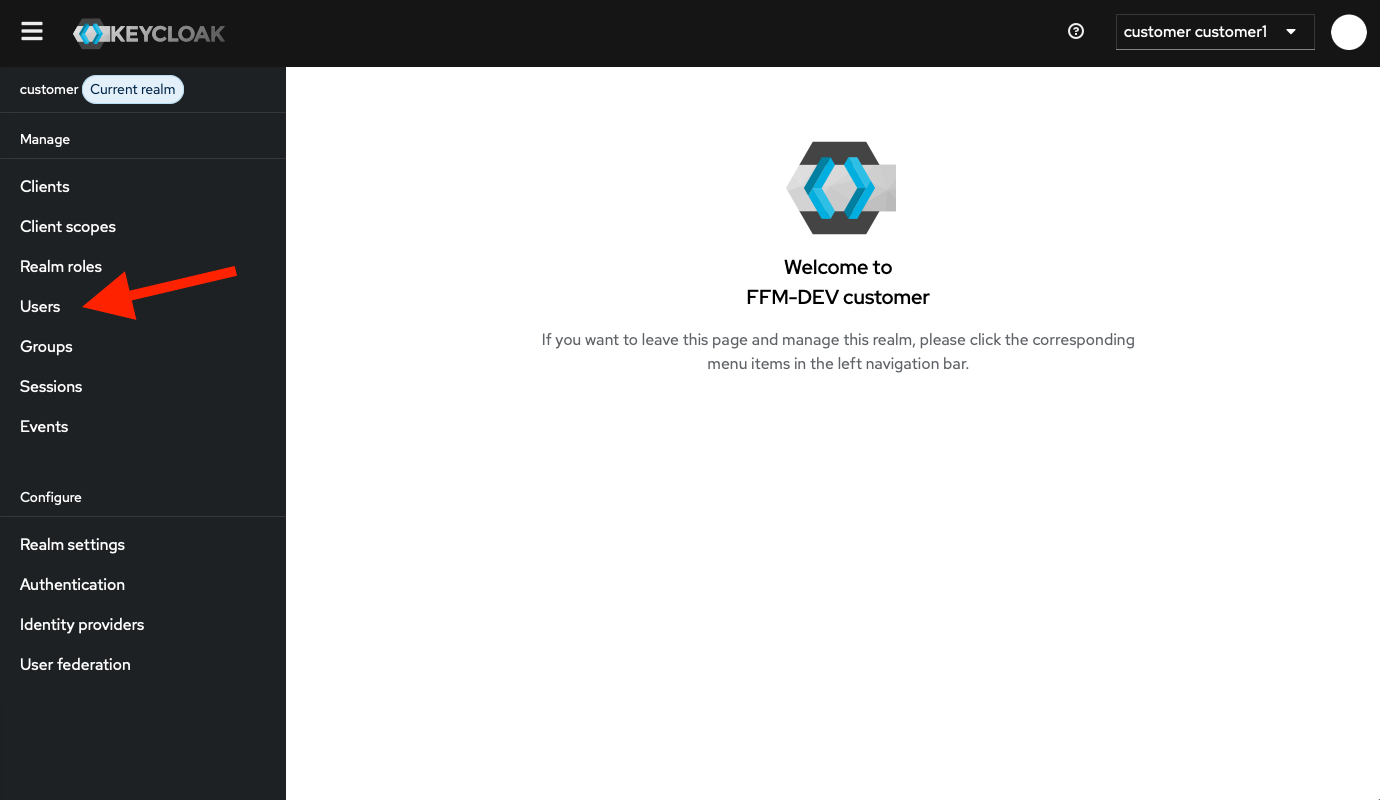
To manage users navigate to Users in left-side menu.
-
We recommend to setup requiered user actions

- the Configure OTP - to enforce one-time verification codes.
- the Verify Email - to verify email on the first loign.
-
Enter the user's information:
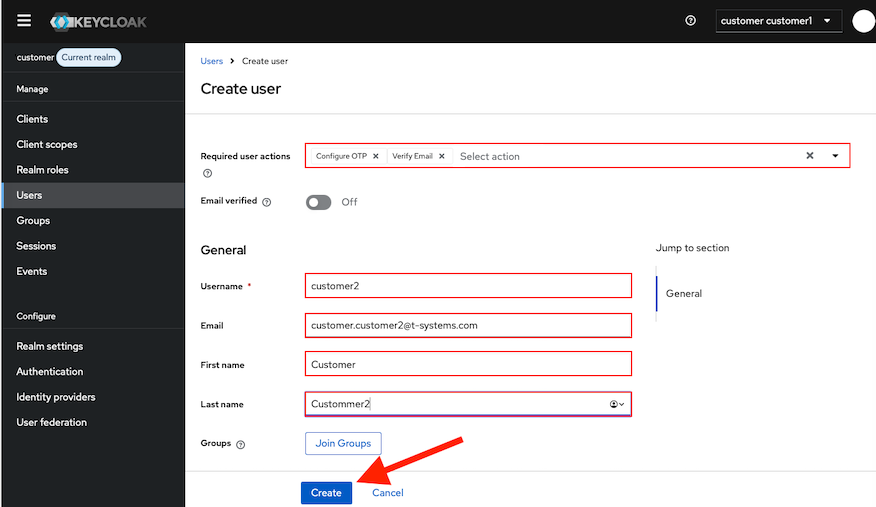
- the Username.
- the Email - must be a valid email address. Keycloak will send you a verification link.
- the First name.
- the Last name.
-
To assign the user to groups, press the Join Groups button. For the administrator account, add the role customer-name:gardener:admin.
-
To create a user, click on the Create button.
The following shows the created user: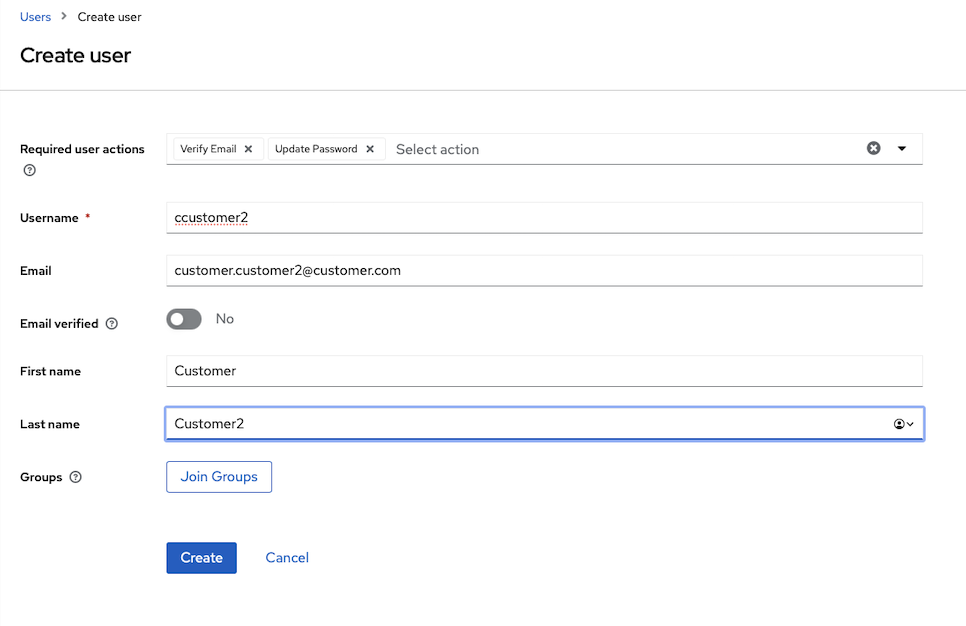
Assign a user the admin role within the corresponding project
To designate a user as a Project administrator, assign the admin role to the user within the relevant project in the OSC Dashboard.
-
Log in to the OSC Dashboard, navigate to a project and then click the members option in the top navigation bar.
You will be redirected to the members administration section. All users are displayed with their Project assignment and respective roles.
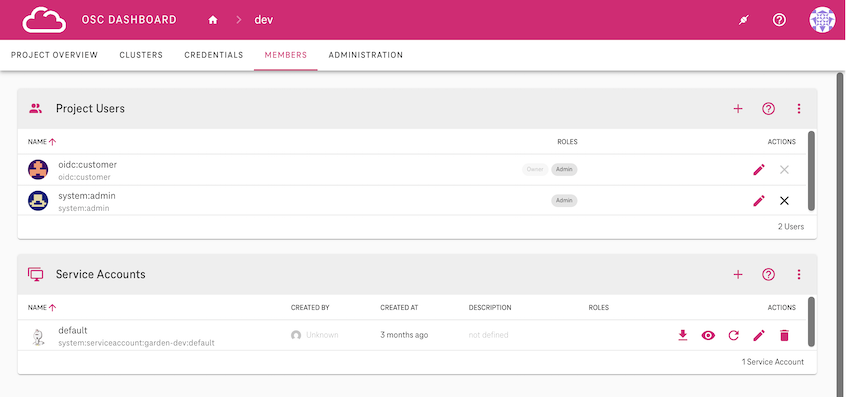
-
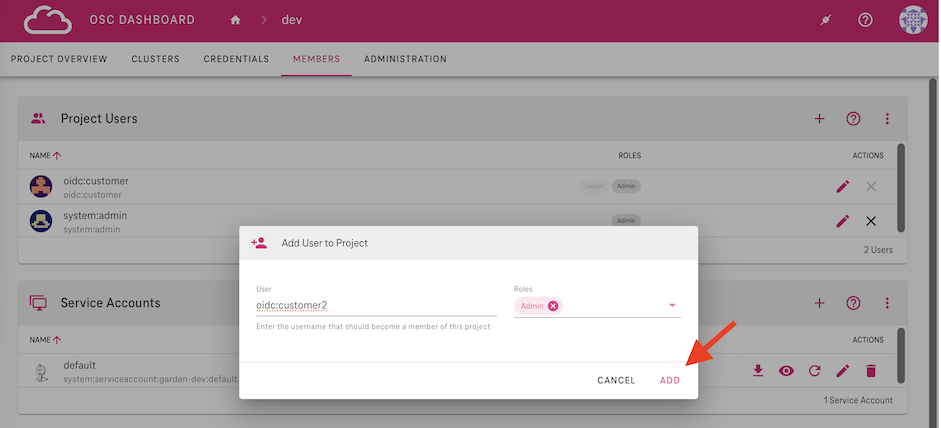
Click on the plus
+icon in the respective section to add a new user to the project.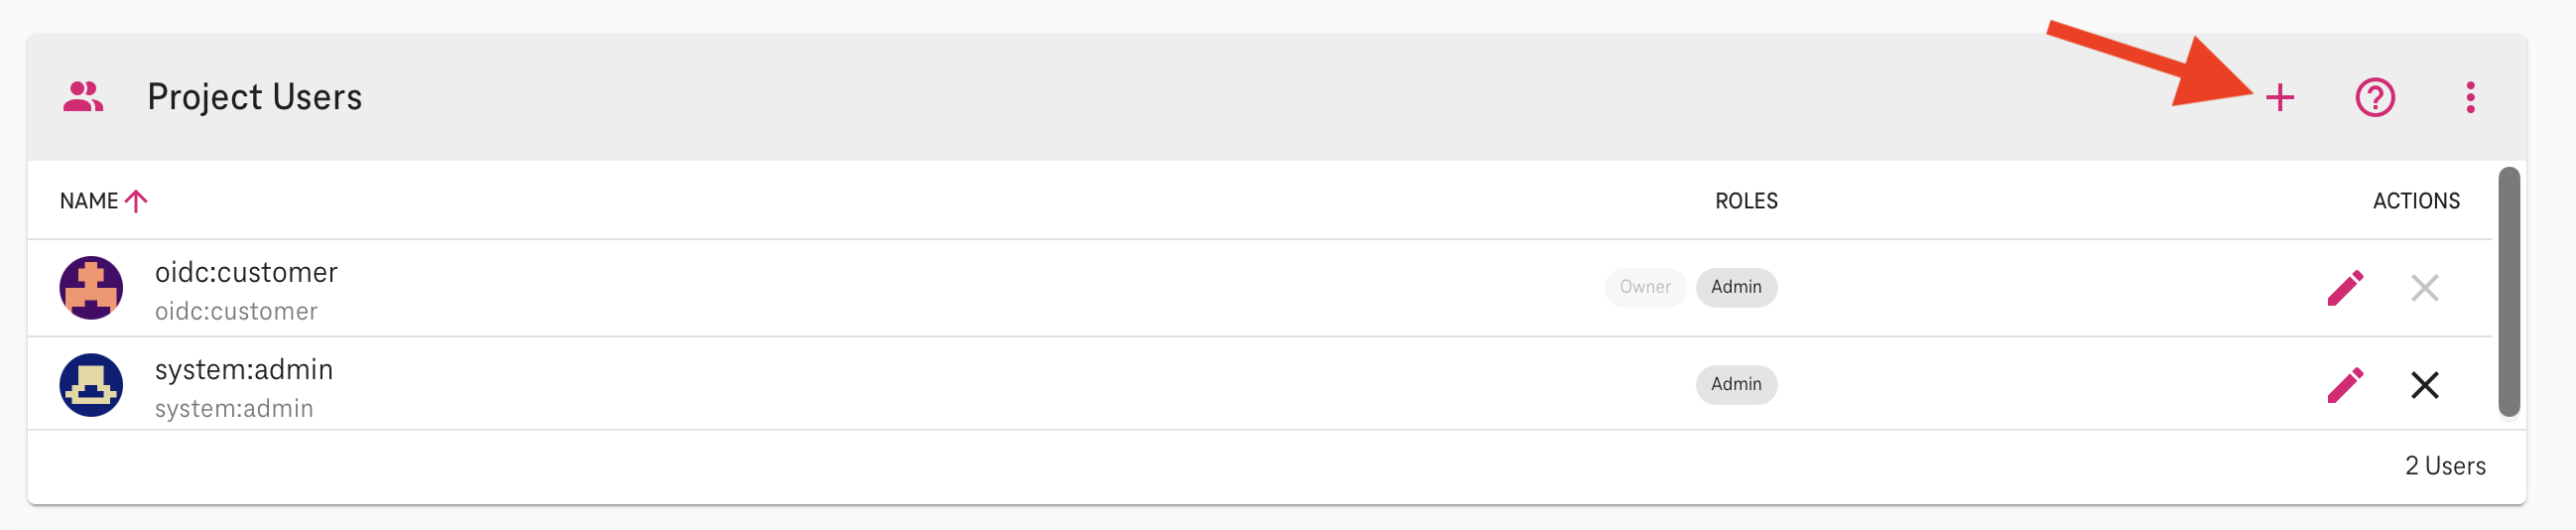
-
You can now enter the username in the format oidc:user-name and assign the appropriate roles. In this example it is an
Adminrole.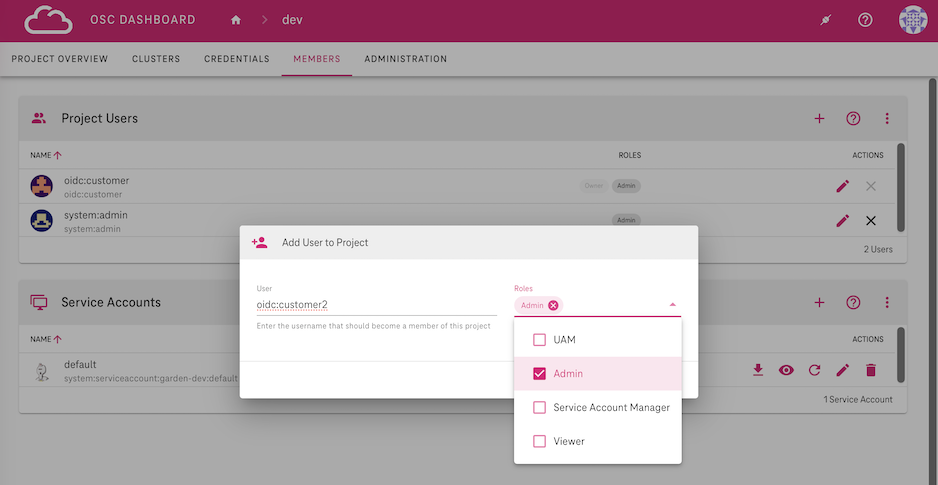
-
After selecting the appropriate roles, click add to include the user in the project. In this example, the user will be added as an Admin.